
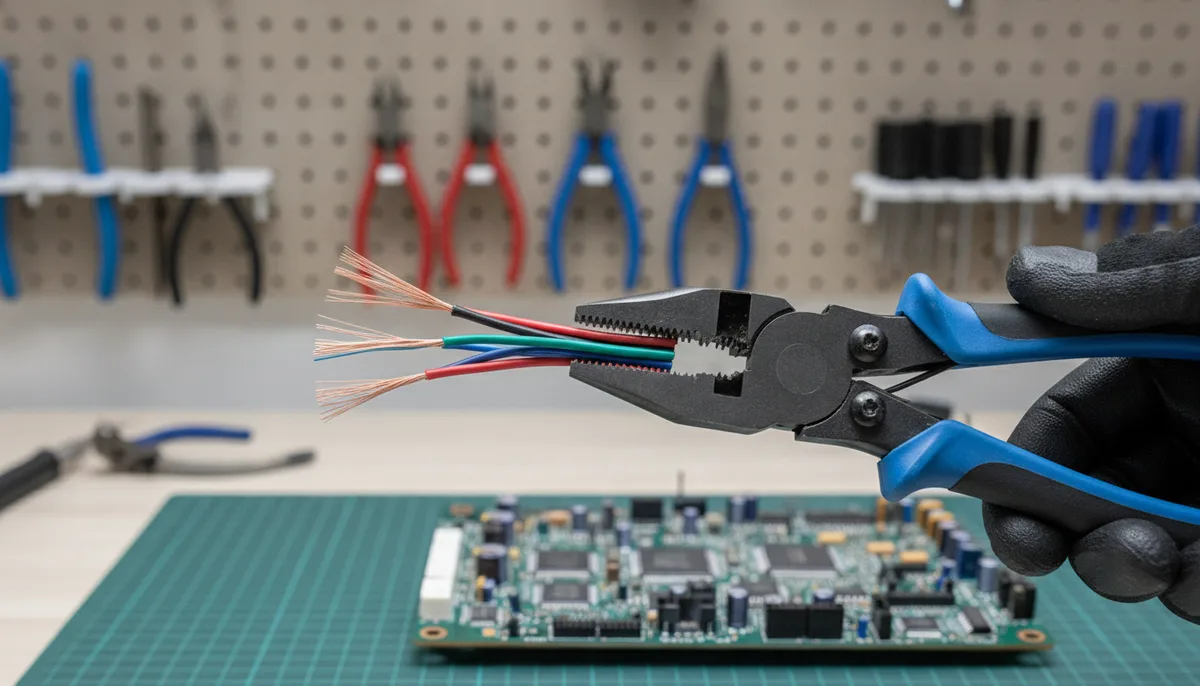
Mastering the Wire Stripper: A Comprehensive Guide to Features, Precision, and Professional Technique
In the hierarchy of the electronics workbench, the wire stripper is often viewed as a humble utility player—a tool so ubiquitous that its nuances are frequently ignored. However, as Nils from LRN2DIY recently highlighted in an exhaustive breakdown of stripper features, there is a significant delta between simply "getting the insulation off" and performing a professional-grade strip that preserves the integrity of the conductor.
Whether you are preparing a harness for a high-performance drone or Engineering the Impossible: Building a High-Performance Air-Powered Table Saw with LEGO, the quality of your wire preparation dictates the reliability of your entire system. A single nicked strand in a 24AWG wire can lead to intermittent signal loss or mechanical failure under vibration. Understanding the full feature set of your wire strippers is the first step toward moving from hobbyist hacks to engineering-grade assemblies.
The Anatomy of Precision: More Than Just Pliers
At first glance, a pair of manual wire strippers looks like a specialized set of pliers. However, the engineering behind the jaw profile is precise. The primary function is performed by the "nest"—the series of circular notches ground into the blades.
Each notch is calibrated to a specific diameter. When the handles are closed, the two halves of the notch meet to form a perfect circle that is slightly larger than the wire conductor but smaller than the outer diameter of the insulation. This allows the tool to slice through the plastic or silicone jacket without touching the metal beneath.
The Pivot and the Lock
High-quality strippers utilize a precision-ground pivot point to ensure the blades don't "wobble." If there is lateral play in the pivot, the notches won't align, resulting in uneven cuts or, worse, the blades biting into the copper. Most professional models also feature a locking slide. This isn't just for safety in your pocket; it protects the precision-ground edges from chipping against other tools in your bag.
Decoding the Gauge: AWG vs. Metric
One of the most common mistakes in wire preparation is misidentifying the gauge. In the United States, the American Wire Gauge (AWG) system is standard, where a higher number denotes a thinner wire. Nils of LRN2DIY emphasizes that many strippers provide two sets of markings: one for solid wire and one for stranded wire.
Why the Distinction Matters
Stranded wire consists of multiple small filaments bundled together. Because there are tiny gaps between these circular filaments, a 22AWG stranded wire has a slightly larger overall diameter than a 22AWG solid wire. If you use the "22 Solid" hole on a "22 Stranded" wire, the blades will likely catch the outer strands and sever them.
In the context of Wireless LCD Streaming for the ANENG AN870: A Deep Dive into Multimeter Hacking, where signal integrity is paramount, losing strands reduces the cross-sectional area of the conductor, increasing resistance and potentially skewing your data or causing local heating.
The "Swiss Army" Features of Professional Strippers
Beyond the stripping notches, a professional tool often incorporates several "hidden" features that many makers overlook.
1. The Looping Hole
Near the pivot or on the side of the jaws, you will often find one or two small circular holes. These are not for stripping; they are for looping. By inserting the tip of a stripped wire into the hole and wrapping it around the jaw, you can create a perfect, consistent "J" hook. This is essential for securing wires to screw terminals, ensuring the wire wraps clockwise around the screw so that tightening the screw pulls the wire tighter rather than pushing it out.
2. Bolt Shears
In the middle of the handles, near the pivot, there are often threaded holes labeled with sizes like 6-32 or 8-32. These are bolt shears. If you need to shorten a machine screw, you thread it into the desired side, squeeze the handles, and the tool shears the bolt cleanly. Because the hole is threaded, unscrewing the bolt after the cut actually repairs the lead-in thread, making it immediately ready for use.
3. The Pliers Nose
The tip of a wire stripper is usually serrated. While it can be used for general gripping, its primary purpose is pulling the "slug" (the piece of insulation you just cut) off the wire or twisting multiple conductors together before applying a wire nut or solder.
Hakko CHP CSP-30-1 Wire Stripper
Automatic vs. Manual: Choosing the Right Action
The debate between manual and automatic strippers usually comes down to volume versus tactile control.
Manual Strippers
Manual strippers are the gold standard for precision electronics. They require the user to select the correct hole and pull the insulation off. The advantage here is feedback; you can feel if the blade is rubbing against the conductor. For the specialized kits described in The Engineering Student’s Toolkit: Essential Gear for the New Academic Year, a compact manual stripper is often the most versatile choice.
Automatic (Pistol Grip) Strippers
These tools use a compound action: one set of jaws grips the wire while the other set cuts and pulls the insulation in a single squeeze. These are incredible for production work where you are stripping hundreds of wires of the same gauge. However, they can be bulky and sometimes struggle with very thin (30AWG+) or very soft silicone insulation.
Self-Adjusting Strippers
These tools attempt to "sense" the wire diameter using a tension-loaded blade. While convenient for home electrical work, they are often too blunt for fine-pitch electronics and can occasionally "scrape" the conductor if the tension isn't dialed in perfectly.
Professional Tips for a Clean Strip
To achieve a professional result every time, Nils and other experts suggest a few key habits:
- The "Twist and Pull" Technique: When using manual strippers on stranded wire, give the tool a slight 5-to-10-degree twist as you pull the insulation off. This helps keep the strands tightly bundled rather than fraying them out into a "bird's nest."
- Inspect for Nicks: Always inspect the bare copper under magnification. A nick is a failure point. If you see a silver or copper "ring" scored into the metal, cut the wire and try again.
- Match the Insulation Type: PVC insulation (common in cheap hookup wire) is rigid and strips easily. Silicone insulation is very floppy and heat-resistant; it often requires a sharper blade and a faster "snap" motion to strip cleanly without stretching the jacket.
- Mind the Length: Stripping too much wire creates a short-circuit hazard; stripping too little leads to weak solder joints. Use the markings often found on the tool's jaws to measure a consistent 1/4" or 3/8" strip length.
Conclusion: Investing in Your Connections
A wire stripper is more than a pair of scissors with holes in it. It is a precision instrument designed to manage the interface between insulation and conduction. By mastering the gauge settings, utilizing the looping holes for mechanical terminals, and choosing the right action for your specific workflow, you ensure that your projects remain robust.
Whether you are hacking a microscope for a wider field of view or building out a professional lab, the quality of your work is only as good as its weakest connection. Start with a clean strip, and the rest of the engineering will follow.