
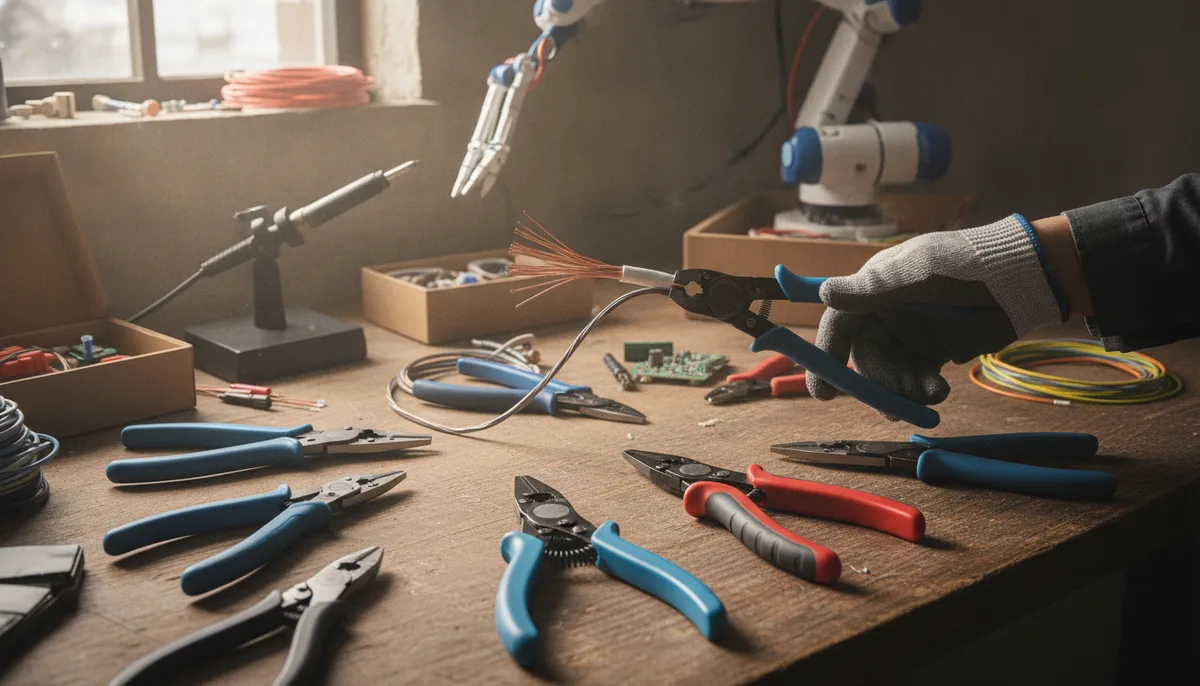
Beyond the Bare Copper: 8 Essential Wire Stripper Features Every Maker Should Master
---CONTENT:
In the world of electronics and field repair, the soldering iron often gets all the glory. We obsess over tip temperatures, thermal recovery, and solder composition. However, a high-quality solder joint is only as good as the preparation that precedes it. Before the first puff of rosin smoke rises, the integrity of your connection depends entirely on how you strip the wire.
A common mistake among beginners—and even some seasoned hobbyists—is treating wire strippers as a "dumb" tool. They see a pair of pliers with some notches and assume the process is foolproof. In reality, modern wire strippers are multi-functional precision instruments. Based on insights from LRN2DIY, understanding the nuances of these tools can mean the difference between a robust, long-lasting circuit and a frustrating intermittent failure.
Whether you are performing Emergency RC Repair: Soldering in the Pits or building a complex bench prototype, mastering these eight features will elevate your technical craft.
1. Dual Gauge Markings: Solid vs. Stranded
The most fundamental feature of any wire stripper is the series of gauged holes along the jaw. However, look closely and you will likely see two different numbers for each hole. One side is typically labeled "Solid" and the other "Stranded."
This distinction is critical. A 12-gauge solid copper wire has a specific diameter. A 12-gauge stranded wire, which is made up of many smaller filaments bundled together, has a slightly larger overall diameter to account for the air gaps between the strands. If you use the "Solid" notch on a "Stranded" wire of the same gauge, you will almost certainly nick or sever several of the outer filaments. This reduces the current-carrying capacity of the wire and creates a mechanical weak point.
2. The Precision Cutting Blade
While the stripping notches are for removing insulation, most strippers feature a flat cutting blade near the pivot or at the very tip. The quality of this blade determines how cleanly you can trim your wire to length.
In professional-grade tools, you will often find "bypass" cutters rather than "anvil" cutters. Bypass blades slide past each other like scissors, resulting in a flush, clean cut that doesn't de-form the wire's end. This is particularly important when you need to insert the wire into a tight PCB via or a precision connector. For those looking to upgrade their kit, consulting The Soldered Anywhere Master Buying Guide can help identify tools with high-carbon steel blades that maintain their edge through thousands of cycles.
3. The Looping Hole: A Hidden Gem
If you look at the flat face of the stripper jaws, you will often find one or two small circular holes that don't seem to align with the stripping notches. This is the "looping hole."
When working with screw terminals—common in power distribution and some industrial interfaces—you need a perfect "J" hook to wrap around the screw. Many people try to do this with needle-nose pliers, often resulting in a mangled wire. By inserting the bare end of the wire into the looping hole and rotating the tool, you can create a perfectly sized, uniform loop every single time. This ensures maximum surface contact with the terminal, which is vital for high-current applications.
4. Integrated Bolt Shears
One of the most overlooked features of a standard pair of wire strippers is the threaded holes located near the pivot point. These are not for decoration; they are bolt shears.
Typically sized for 6-32 and 8-32 bolts (standard sizes for electrical boxes and mounting hardware), these allow you to shorten a bolt without ruining the threads. You simply thread the bolt into the side of the tool that is threaded, close the handles to shear the bolt, and then unthread it. The act of unthreading the bolt through the tool's threads effectively "chases" or cleans the cut end, allowing it to be used immediately without filing.
5. The Crimping Die
Many wire strippers are "combo" tools that include a crimping section. This is usually located behind the pivot point, closer to the handles, to provide maximum leverage.
There are typically two types of crimping zones: one for insulated terminals (usually marked with red, blue, and yellow dots) and one for non-insulated terminals. Using the correct zone is essential. A non-insulated crimp uses a "dent" style fold to secure the wire, while an insulated crimp uses a wider compression to avoid piercing the plastic sleeve of the terminal.
6. Spring-Loaded Action and Locking Mechanisms
If you are stripping dozens of wires for a large-scale project, hand fatigue becomes a real factor. High-quality strippers feature a coil spring that automatically re-opens the jaws after every cut.
To keep the tool compact and safe in your pocket or tool roll, they also include a locking slide. A common point of failure in cheap tools is a lock that engages accidentally while you are working. Professional models use a tensioned or recessed lock to ensure the tool only closes when you want it to. This portability is a key consideration when you're out in the field, perhaps even Wireless LCD Streaming for the ANENG AN870: A Deep Dive into Multimeter Hacking and need to make quick adjustments to your probes.
7. Ergonomic Grips and "Real" Insulation
The handles of your wire strippers are about more than just comfort. While most "dipped" handles provide some level of electrical resistance, they are often not rated for live-wire work.
However, the ergonomic shape is vital for precision. A handle with a curved "palm fit" allows you to apply pressure more evenly, which prevents the tool from twisting in your hand as you pull the insulation off. This stability is what prevents you from accidentally pulling the wire out of a delicate component on the other end. Look for "dual-component" grips, which use a hard plastic core for strength and a soft rubber overmold for grip.
8. The Nose Pliers Function
Finally, the very tip of the wire stripper is usually serrated and shaped like a pair of needle-nose pliers. While not a replacement for dedicated pliers, this feature is indispensable for pulling wire through tight enclosures or straightening a bent lead.
In high-density electronics work, the ability to strip a wire and then immediately use the tip of the same tool to guide that wire into a terminal block saves significant time. It reduces the "tool-swapping" fatigue that often leads to mistakes during long assembly sessions.
Summary of Features
| Feature | Primary Purpose | Pro Tip |
|---|---|---|
| Gauge Notches | Remove insulation without damage | Always check the "Stranded" vs "Solid" label. |
| Looping Hole | Create screw terminal hooks | Insert wire halfway and rotate 180 degrees. |
| Bolt Shears | Shorten 6-32/8-32 bolts | Thread the bolt in before cutting to save the threads. |
| Crimper | Secure terminals to wire | Use the "dent" side for non-insulated connectors. |
| Bypass Blade | Cleanly cut wire to length | Use the area closest to the pivot for maximum leverage. |
Conclusion: The Tool is an Extension of the Hand
The difference between a "hacker" and a "technician" often comes down to tool literacy. By understanding that your wire strippers are designed to do more than just bite through plastic, you protect the integrity of your copper and the longevity of your projects.
The next time you pick up your strippers, take a moment to identify the bolt shears, the looping hole, and the specific gauge markings. Using the right feature for the right task doesn't just make the job easier—it ensures that your work stands up to the rigors of the real world, whether it's sitting on a lab bench or vibrating inside an RC car at 60 miles per hour.