
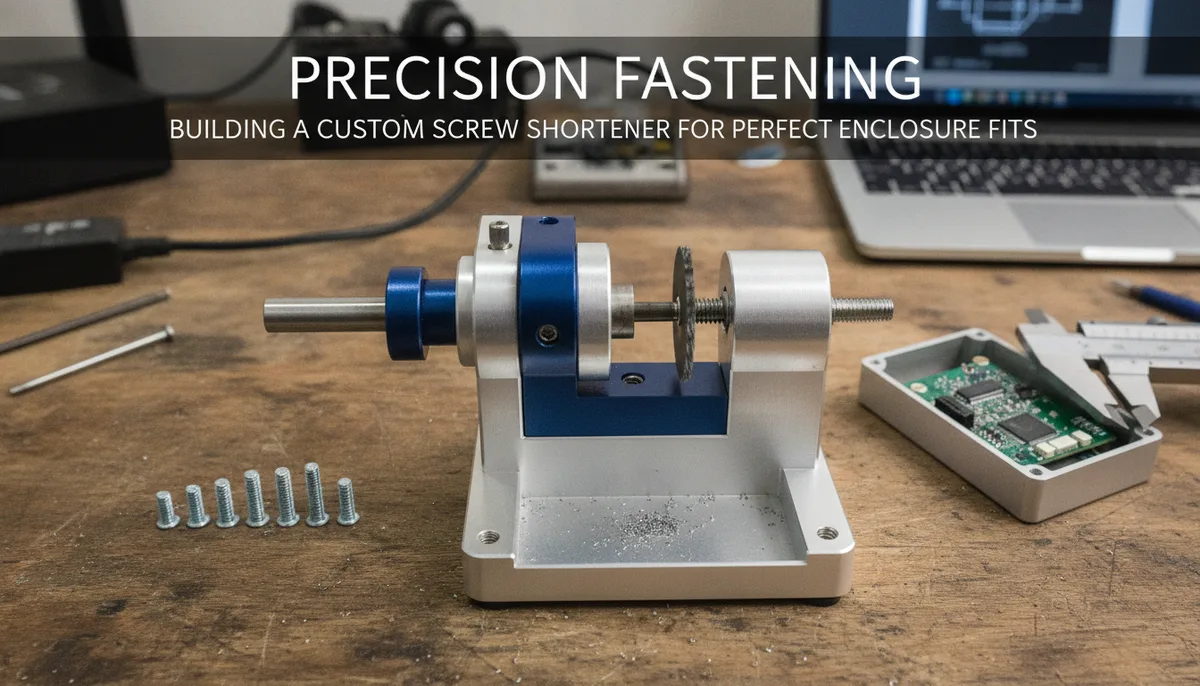
Precision Fastening: Building a Custom Screw Shortener for Perfect Enclosure Fits
In the world of custom electronics and precision engineering, the "almost perfect" fit is a common enemy. You’ve spent hours designing a custom 3D-printed enclosure or milling an aluminum chassis, only to realize that your M3 screws are 2mm too long, bottoming out in the standoffs before the lid is secure.
While you can buy screws in various increments, the specific length you need is often the one you don't have in your parts bin. The common "hack" is to grab a pair of pliers or a hacksaw and wing it, but this almost always results in mangled threads and frustration. Recently, the machining expert Blondihacks shared a brilliant solution: a dedicated tool for shortening screws accurately and cleanly.
This guide dives into the mechanics of why you need a screw shortener, how the tool works, and how you can integrate this level of precision into your own workflow, whether you are building a high-end synthesizer or performing Emergency RC Repair: Soldering in the Pits.
The Hidden Complexity of the Screw Thread
To understand why we need a specialized tool, we first have to look at the geometry of a screw. A screw isn't just a cylinder with a spiral; it is a precision-engineered ramp wrapped around an axis. The most critical part of that ramp is the "lead-in"—the first one or two threads that allow the fastener to catch and align with the internal threads of a nut or standoff.
When you cut a screw with diagonal cutters or a standard hacksaw, several things happen:
- Thread Compression: The pressure of the blades flattens the crests of the threads near the cut.
- Burr Formation: Metal is pushed outward, creating a "lip" that is wider than the major diameter of the screw.
- Work Hardening: The heat and mechanical stress of a messy cut can harden the tip, making it difficult to file down later.
If you try to force a badly cut screw into a brass standoff, you risk cross-threading the internal hole, effectively ruining both the fastener and the component it was meant to secure.
The Blondihacks Approach: A Dedicated Jig
The tool demonstrated by Blondihacks is essentially a "sacrificial" threaded block. By threading the screw into a precisely tapped hole in a thick piece of metal, the tool supports the threads right up to the point of the cut.
How the Tool Works
The design is deceptively simple: a steel or brass bar with a series of holes tapped for common sizes (M2, M2.5, M3, M4, etc.). To use it, you thread the screw through the block until the desired amount of excess material protrudes from the back.
Once the screw is positioned, you can use a belt sander, a bench grinder, or even a fine-toothed hacksaw to remove the excess. Because the screw is held rigidly by the threads of the tool, it cannot vibrate or deflect.
The "magic" happens when you unscrew the fastener. As the screw backs out through the tapped hole of the tool, the tool's internal threads act as a die, automatically cleaning up any minor burrs and reshaping the lead-in thread. This ensures that the screw comes out ready to use, with no further filing required.
metric and imperial tap and die set
Designing Your Own Screw Shortener
You don't need a full machine shop to create a functional version of this tool. For most electronics hobbyists, a simplified version made from a 1/4-inch thick aluminum or steel bar is sufficient.
Step 1: Material Selection
While Blondihacks often works with steel for longevity, aluminum is much easier to drill and tap for the average DIYer. If you primarily work with stainless steel screws, a steel block is recommended to prevent the harder screw from wearing out the tool's threads too quickly.
Step 2: Layout and Drilling
Measure your most-used screw sizes. For electronics, this is usually M2, M2.5, and M3. Space your holes at least 15mm apart to allow enough room for the heads of the screws to sit flush against the surface. When drilling, use a drill press if possible to ensure the holes are perfectly perpendicular to the face of the block.
Step 3: Tapping the Holes
Use a high-quality tap set and plenty of cutting fluid. The goal is to have "Class 2" fit threads—not too loose, but not so tight that you struggle to thread the screws in by hand. For a comprehensive look at the tools required for a well-equipped bench, check out The Soldered Anywhere Master Buying Guide.
Refined Techniques for a Professional Finish
Once you have your tool, the technique you use to actually remove the metal matters.
Avoiding Heat Damage
If you are using a bench grinder or a belt sander, heat builds up rapidly. If the screw turns blue or straw-colored, you have "drawn the temper," potentially making the screw too soft for high-torque applications.
- The Pro Tip: Keep a small container of water next to your grinder. Grind for two seconds, then quench. Repeat until the screw is flush with the tool block.
Achieving a Chamfered End
A flat-cut screw can still be finicky to start. To get a truly professional finish, slightly tilt the tool block against the grinding medium at the very end of the process. This creates a slight chamfer (a beveled edge) on the tip of the screw, which acts as a guide for the threads.
POWERTEC 15523 Aluminum Oxide Gr...
Beyond the Bench: Why Precision Fasteners Matter
In high-precision electronics, the length of a screw can be the difference between a working device and a short circuit. Consider a scenario where you are mounting a PCB inside a tight enclosure. If a screw is 1mm too long, it might press against a capacitor or pierce the insulation of a wire.
We see similar attention to detail required in complex teardowns and modifications. For instance, when Voiding the Warranty for Vision: Hacking Budget Celestron Microscopes for Ultra-Wide FOV, custom mounting hardware is often required to adapt new optical paths. Being able to shorten a screw to the exact sub-millimeter length required allows for tighter tolerances and more robust builds.
Practical Applications in the Modern Maker Lab
A screw shortener isn't just for metalworkers; it’s a staple for:
- Custom Keyboards: Shortening screws for integrated plate mounts where clearance is minimal.
- Robotics: Ensuring fasteners don't interfere with moving gears or linkages.
- Restoration: When original vintage screws are no longer available, you can modify modern equivalents to match the original specs.
To ensure you are cutting to the right length every time, precision measurement is key. Don't rely on a standard ruler.
precision digital calipers with 0.01mm resolution
Conclusion: The Value of Custom Tooling
The Blondihacks screw shortener is a perfect example of "the tool that makes the project." While it takes an afternoon to build, it saves hours of frustration over the life of your workshop. It elevates your work from "hobbyist-grade" to professional quality by ensuring that every fastener is exactly the length it needs to be—no more, no less.
By investing time into creating your own workshop aids, you develop a deeper understanding of the materials you work with. Whether you are shortening an M2 screw for a delicate sensor mount or building a heavy-duty chassis, the right tool ensures that your focus remains on the innovation of your project, rather than the limitations of your hardware.
Related product: VEVOR Tap and Die Set 80Pcs Metr...
Related product: 150mm/0-6 Absolute Digital Digim...
Related product: POWERTEC 15523 Aluminum Oxide Gr...
Related product: VEVOR Tap and Die Set 80Pcs Metr...
Related product: 150mm/0-6 Absolute Digital Digim...