
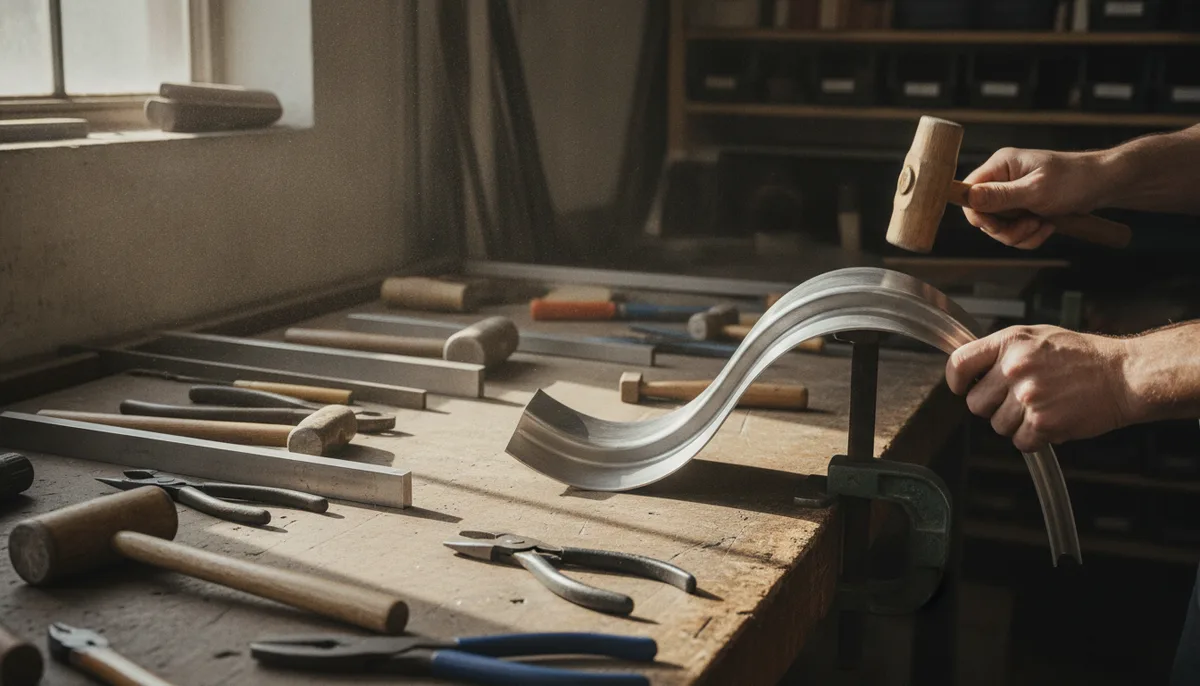
Precision Curves: Mastering Complex Sheet Metal Folds with Simple Hand Tools
In the world of custom fabrication, there is a distinct line between "garage-built" and "professional-grade." Often, that line is defined by the tools at one's disposal. If you have a CNC press brake or a multi-ton English wheel, complex curves in sheet metal are a matter of programming and patience. However, for the independent maker working on a project like a Belly Tank Lakester—where every surface is aerodynamic and straight lines are non-existent—those industrial solutions are often out of reach.
The challenge lies in the physics of the material. Folding a straight line in a sheet of aluminum is straightforward; the internal stresses are distributed evenly across the length of the bend. But when that fold line must follow a curve, the metal must stretch and compress simultaneously in multiple directions. Without the right approach, the metal will either refuse to bend or, more likely, it will crack.
The Pitfalls of Traditional Scoring
When faced with a difficult bend, the instinct for many is to "score" the metal. By dragging a hardened carbide scribe or a shallow cutting wheel along the desired line, you create a path of least resistance. In theory, the metal should fold along this weakened valley.
In practice, particularly with aluminum, this often leads to failure. Aluminum has a specific crystalline structure that does not respond well to sharp "V" notches. When you score the metal, you create a high-stress concentration point. As you apply force to bend the sheet, the stress doesn't distribute through the radius of the bend; instead, it focuses entirely on the bottom of the score line. This almost invariably leads to a "stress riser" that turns into a crack.
Furthermore, scoring removes material in a continuous line, which significantly compromises the structural integrity of the part. For a component like an aerodynamic cover for a high-speed vehicle, a cracked fold is a catastrophic failure waiting to happen.
The Perforation Method: A Better Way to Bend
A more effective, albeit time-consuming, method involves "perforating" the fold line rather than scoring it. As demonstrated by [John] in his recent fabrication work, drilling a series of small, closely spaced holes along the curved fold line allows the metal to behave more like a hinge and less like a brittle sheet.
The secret to this method is the "web" of metal left between the holes. Unlike a continuous score, these webs allow for localized plastic deformation. When you bend the sheet, each small section of metal between the holes takes a portion of the strain. Because the holes are round, they distribute stress much more effectively than a sharp-bottomed groove.
This technique is especially useful for curves because it allows the metal to "breathe." As the curve progresses, the perforations provide tiny gaps where the metal can slightly compress or expand without buckling the entire surface of the sheet.
Tools for the Initial Layout
Before you start drilling, precision layout is mandatory. When working with curves, a standard ruler won't suffice. You’ll need flexible curves or templates to mark your lines accurately. Once the lines are set, you need to ensure your starting material is cut cleanly to prevent edge-cracking during the bend.
For clean, burr-free edges on aluminum sheets, a high-quality set of snips is essential.
Aviation Tin Snips Set 10 Inch M...
Using aviation snips allows you to follow the initial contours of your part before you ever move to the folding stage. Clean edges are the first line of defense against cracks that can propagate from the perimeter into your fold line.
Executing the Fold with Hand Tools
Once your holes are drilled along the curved path, the actual folding process begins. Because you are working with a curve, you cannot simply put the piece in a standard 4-foot box-and-pan brake. The curve would interfere with the clamping bar.
Instead, you must work the bend incrementally using hand tools. This is where patience becomes your most valuable asset. You aren't looking to reach a 90-degree angle in one pass. Instead, you should work the entire length of the curve, bending it just a few degrees at a time.
Utilizing Hand Seamers for Controlled Bending
For smaller sections or tighter curves, hand seamers are the ideal tool. They provide a wide, flat gripping surface that distributes the bending force across several of your drilled perforations at once.
Hand Seamer Tool 6 Inch Straight...
If you are working on a larger panel, such as a belly pan or a long aerodynamic fairing, a wider folding tool can help maintain consistency across the curve.
DURATECH 12 Inch Sheet Metal Ben...
By moving the tool progressively along the perforated line and applying steady, even pressure, you can "walk" the metal into its final shape. The perforations act as a guide, ensuring the bend stays exactly on the marked path even as the geometry of the part becomes more complex.
Shaping and Finishing the Radius
After the initial fold is established, the part may look a bit "faceted" or rough. The metal between the holes has been bent, but the overall curve may need smoothing to match the sleek lines of a vehicle or a custom enclosure.
This is where "planishing" comes into play. You’ll want to use a mallet that can move the metal without leaving unsightly dings or thinning the material too much. Metal hammers are often too aggressive for this stage of aluminum work.
A nylon or Teflon mallet allows you to strike the fold line gently to refine the radius. Because these materials are non-marring, they won't leave "work marks" that would require hours of sanding to remove later. If you need a bit more versatility for different sections of the curve, a dual-face mallet can provide different densities for different stages of the finish.
Nylon Hammer 1" Head Dual Face P...
The Aesthetic Trade-off: Managing the Perforations
The primary critique of the perforation method is the visible line of holes left in the finished part. For many industrial or structural applications, this is a non-issue. However, for aesthetic parts, it requires a bit of strategy.
As [John] noted in his Lakester project, placement is key. If the fold is located on the underside of a vehicle or in a shadowed area, the perforations become nearly invisible once the metal is polished. The small holes tend to disappear into the reflection of the aluminum.
If the holes must be hidden, there are several options:
- Filling: The holes can be filled with a structural epoxy or aluminum-filled body filler, then sanded flush and painted.
- Welding: For those with TIG welding skills, the holes can be "plug welded," though this risks warping the curve you just worked so hard to create.
- Polishing: Often, simply deburring the holes and polishing the entire surface to a high luster makes the perforations look like an intentional design element, similar to the stitching on a leather seat.
Practical Applications Beyond Automotive
While the inspiration for this technique comes from the world of land-speed racing, the applications for "perforation folding" are vast for the modern maker. Whether you are building a custom enclosure for a high-end electronics project or fabricating a unique heat shield for a drone, the ability to create curved folds opens up a new world of design possibilities.
In many ways, this approach mirrors the "living hinge" designs we see in laser-cut acrylic or 3D-printed plastics. It is about understanding how to remove just enough material to facilitate movement without sacrificing the overall strength of the structure.
For those interested in the finer points of hardware engineering and tool selection, our The Soldered Anywhere Master Buying Guide offers deeper insights into the types of equipment that bridge the gap between hobbyist and professional.
Final Thoughts: The Value of the Manual Approach
In an era where we often look to 3D printing or CNC machining to solve every geometry problem, there is immense value in mastering manual fabrication. Techniques like perforation folding remind us that with a bit of ingenuity and basic hand tools, we can achieve results that rival expensive machinery.
It’s about the "hack"—taking a drill and a mallet and turning a flat sheet of 6061 aluminum into a complex, aerodynamic component. It’s the same spirit we see in Emergency RC Repair: Soldering in the Pits, where the focus is on getting the job done with what you have on hand.
Next time you're faced with a design that seems "un-bendable," don't reach for the credit card to buy a bigger machine. Reach for your drill bits, layout your curve, and start perforating. The results might just surprise you.