
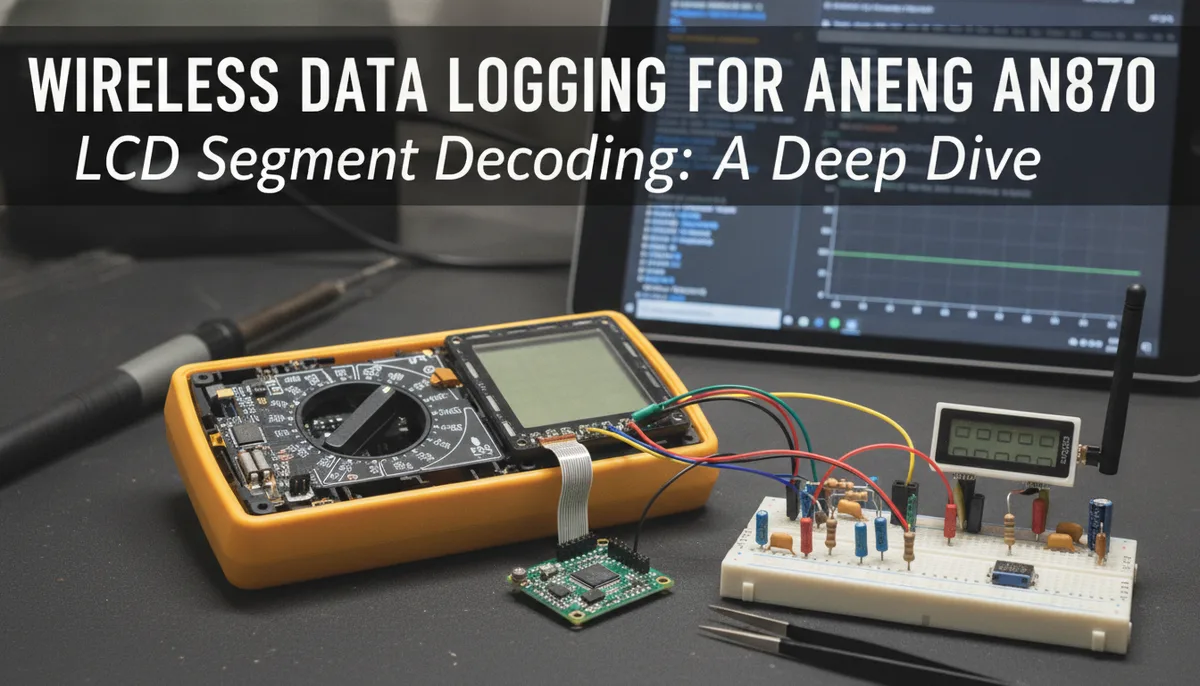
Wireless Data Logging for the ANENG AN870: A Deep Dive into LCD Segment Decoding
The Challenge of Data Logging on Budget Hardware
The ANENG AN870 has earned a reputation in the maker community as a surprisingly capable 19,999-count digital multimeter (DMM) at a fraction of the cost of "big brand" alternatives. However, like many budget-friendly tools, it lacks the advanced connectivity features found in professional-grade laboratory equipment. There is no USB port, no Bluetooth connectivity, and certainly no SCPI (Standard Commands for Programmable Instruments) support over a network interface.
For many users, this is a minor inconvenience. But for those creating educational content, streaming electronics repair on platforms like YouTube or Twitch, or performing long-term battery discharge tests, having the DMM’s data trapped on a physical LCD is a significant bottleneck.
While some might point a secondary camera at the multimeter screen, this approach often suffers from glare, poor refresh rates, and parallax issues. The project by [Bits und Bolts] offers a sophisticated solution: intercepting the raw electrical signals sent to the LCD and transmitting them wirelessly to a digital overlay.
Understanding the Complexity: Multiplexed LCDs
To appreciate the elegance of this modification, one must first understand how a digital multimeter drives its display. Unlike a modern OLED or TFT screen that uses a digital communication protocol (like SPI or I2C), the AN870 uses a "raw" segment LCD.
In these displays, the microcontroller inside the DMM doesn't send a "7" to the screen; it energizes specific segments of a digit. To save on pin count, these displays are almost always multiplexed. This means that segments are arranged in a grid of "Common" (COM) and "Segment" (SEG) lines. By rapidly switching the voltage levels across these pins, the DMM can control dozens of segments with only a handful of traces.
Decoding these signals requires more than just checking if a pin is "high" or "low." The signals are often AC waveforms with multiple voltage levels to prevent DC bias from damaging the liquid crystals. This is why a simple logic analyzer often fails to provide a clear picture, and why a dedicated microcontroller like the RP2040 is required to "sniff" the lines and reconstruct the displayed digits in real-time.
The Hardware Stack: RP2040, HC-12, and ESP32-C3
The modification is split into two distinct parts: the transmitter (inside the DMM) and the receiver (connected to your computer or network).
The Transmitter Side
Space inside a handheld multimeter is notoriously tight. To fit the necessary logic, the project utilizes the RP2040 Zero, a miniaturized version of the Raspberry Pi Pico's silicon.
The RP2040 is tasked with the heavy lifting of monitoring the LCD lines. However, the RP2040 requires a stable 3.3V supply. The AN870 runs on two AA batteries, which provide anywhere from 2.4V to 3.0V. To bridge this gap, a small boost module is integrated into the design, ensuring the electronics remain powered even as the batteries deplete.
For wireless transmission, the project opts for the HC-12 433 MHz transceiver. Unlike 2.4 GHz solutions (like standard WiFi or Bluetooth), the 433 MHz band offers excellent penetration through the DMM's plastic casing and across a crowded lab workbench, all while maintaining a simple serial interface for the RP2040.
The Receiver Side
On the receiving end, another HC-12 module catches the data packets. This is paired with an ESP32-C3. The ESP32-C3 acts as a bridge, taking the serial data from the HC-12 and serving it over WiFi. This allows the multimeter data to be accessed via a web browser or integrated directly into OBS (Open Broadcaster Software) as a browser source for a clean, digital overlay.
Implementing the Mod: Precision Soldering and Custom PCBs
This is not a project for the faint of heart. To interface with the LCD, you must tap into the signal lines between the DMM's main chipset and the display itself.
The project utilizes a custom-designed PCB that sits between the mainboard and the LCD. This "interposer" board allows for clean access to the signals without a messy "spiderweb" of wires that could interfere with the DMM's sensitive analog measurements.
When performing modifications of this complexity, the quality of your tools is paramount. Working in the cramped quarters of a handheld meter requires a soldering iron with excellent thermal recovery and a fine tip. If you are still using a basic wall-plug iron, it might be time to upgrade. For a detailed look at the best tools for this kind of precision work, check out our Best Portable Soldering Irons of 2024: A Field Guide.
Specifically, if you're looking for a tool that offers enthusiast-grade control in a small form factor—perfect for navigating the internals of an AN870—the Pinecil remains a top contender. You can read our deep dive here: Pinecil V2 Review: Is the Hype Actually Real?.
The Software Logic: Mapping the Segments
Once the hardware is installed, the software must be told which combination of COM and SEG lines corresponds to which segment on the screen. This is a painstaking process of "mapping."
The RP2040 code monitors the state of the pins at specific intervals. When it detects a specific pattern, it knows, for example, that the "decimal point" or the "milliamp" symbol is active. These states are then bundled into a small data packet and sent via the HC-12.
The beauty of this approach is that it is entirely passive. The RP2040 does not "ask" the DMM for data; it simply observes what is being sent to the screen. This ensures that the DMM’s original functions—auto-ranging, mode switching, and safety features—remain entirely untouched.
Why the ANENG AN870?
You might wonder why so much effort is being poured into a budget meter like the AN870. The answer lies in the price-to-performance ratio. The AN870 is a 19,999-count meter, meaning it provides higher resolution than the standard 6,000-count meters found in the same price bracket.
ANENG AN870 Digital Multimeter
By adding wireless data logging, you effectively turn a $40–$50 tool into something that rivals the functionality of a $300 wireless-enabled Fluke or Keysight meter. For the hobbyist on a budget, this is the ultimate "lab hack."
Practical Applications in the Modern Lab
Once you have your DMM data streaming to your PC, the possibilities expand significantly:
- OBS Integration: For streamers, having a real-time, high-contrast digital readout of voltage or current makes for a much more professional presentation. You can style the text, change colors based on thresholds, and ensure your audience never misses a reading.
- Remote Monitoring: Testing a potentially failing power supply or a high-voltage circuit? Place the DMM, close the safety enclosure, and monitor the results from across the room on your laptop.
- Data Logging: By sending the data to a simple Python script on your PC, you can log measurements to a CSV file over hours or days, perfect for characterizing battery discharge curves or solar panel efficiency.
- Accessibility: For makers with visual impairments, streaming the DMM data to a large monitor or even a text-to-speech engine can make electronics much more accessible.
Conclusion: Expanding the Ecosystem
The [Bits und Bolts] project is a testament to the power of modern microcontrollers like the RP2040 and ESP32. What used to require a massive benchtop multimeter and a GPIB-to-USB adapter can now be achieved with a few dollars' worth of silicon tucked inside a handheld device.
If you're looking to stock up on the components needed for this build or other lab upgrades, our The Soldered Anywhere Master Buying Guide is an excellent resource for finding reliable vendors and high-quality parts.
Whether you're an educator, a professional developer, or a weekend tinkerer, the ability to "free" your data from the small LCD of your multimeter is a game-changer. It transforms a standalone tool into a connected node in your smart lab, proving once again that with the right hardware and a bit of creative coding, even budget gear can perform at a world-class level.